
LOCATION
Counter, shelf, endcap, floor, event table or another defined retail space.

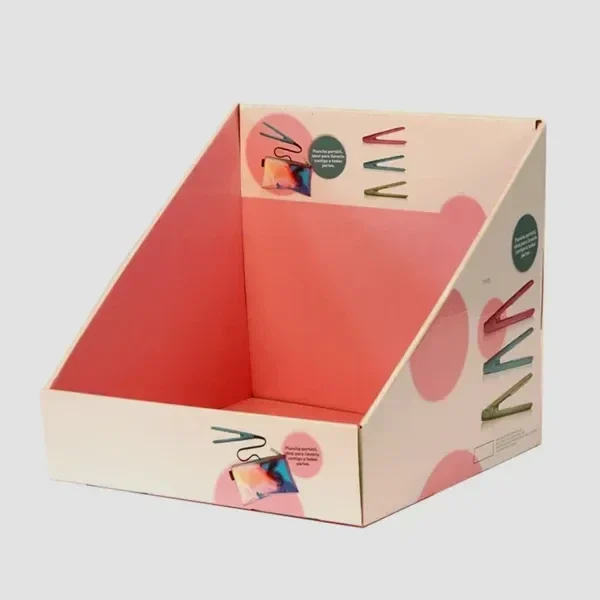
Turn packaging into a retail presentation that holds, organizes and sells the product where shoppers can see it. Custom display boxes can be sized around your SKU count, product dimensions, counter or shelf footprint, graphics and replenishment workflow.
Start with where the display will sit and how many units it needs to present. The structure, material and artwork follow from that merchandising job.
Final dimensions, materials, print routes and performance claims are confirmed against the actual project specification.
A custom display box is packaging designed to present one or more products in a visible, organized retail or event format. Depending on the structure, it may sit on a counter, shelf or floor and can include a header, front lip, side walls, dividers or product-retention features.
The best display is built around the merchandising location, product dimensions and replenishment process — not around artwork alone.
A display that is too wide may not fit the intended counter or shelf; one that is too narrow may hide products or fall out of balance. Record the maximum footprint, product dimensions, desired unit count and number of visible facings before the dieline is developed.
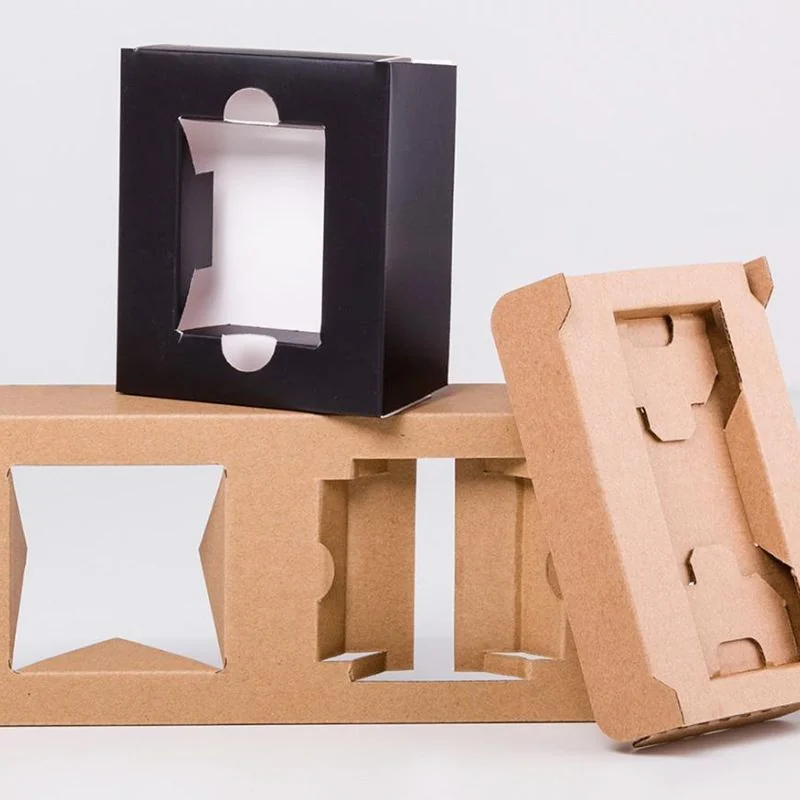
The display should still look intentional after shoppers remove the first few units. Dividers, slots, side walls, angled trays or shaped inserts can keep products upright and reduce a messy half-empty appearance.
Retention features must be sized with the real product package — not estimated from artwork.
In some programs, the transport case or tray can be designed to open or convert into shelf-ready presentation. This can reduce store handling, but the design must work in two modes: protection during distribution and clean exposure for merchandising.
Do not assume every counter display can safely act as its own shipping container; validate the structure and distribution plan separately.
Paperboard can be a strong starting point for lighter counter displays with high print requirements. Corrugated board adds structural depth for heavier products, larger displays or transport/display formats.
A display has different visual zones from a closed product box. Use the header or back panel for the primary brand message, the front lip for a concise product cue, and side panels for supporting graphics. Keep essential information away from folds, tear-away sections and areas hidden by the products.
Confirm how many products the display holds, how it sets up and whether transit packaging is included before comparing unit price.
Include the intended retailer, counter or shelf footprint, campaign duration, delivery ZIP code and setup responsibility in the brief. For pop-ups or temporary launches, note whether the display will be transported repeatedly or packed flat between uses.
Reducing unnecessary components, right-sizing the footprint and using a recoverable paper-based structure where appropriate can improve material efficiency. Then evaluate inks, coatings, laminates, mixed materials and disposal guidance for the finished display.
Explore Sustainable Packaging →Location, maximum footprint and merchandising goal.
SKU dimensions, unit count, facings and refill direction.
Counter/shelf/floor direction, retention and board.
Header/lip/side artwork plus physical setup review.
Quantity, packing method, delivery, setup and reorder record.
Clear answers for merchandising, structure, materials and store operations.
Start with the product pack-out and retail location. If you do not know the display structure yet, provide the maximum footprint and the number of products you want visible.
A successful display has to be visible, stable, easy to refill and practical to deliver — then the graphics can do their job.